Procedure:
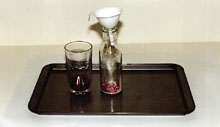
1. Put the bottle in the middle of the
large bowl or pan.
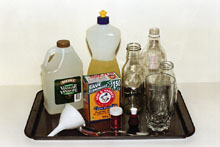
2. Spoon baking soda into the bottle until
it covers the bottom. Record the volume of baking soda you used. If you
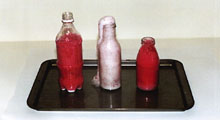
want to give your eruption some extra pizzazz, you can also pour some
glitter into the bottle. (In the photos, you can see we didn’t add food
colouring to the middle bottle, but we did add red glitter.)
3. In a cup, combine 1/4 cup of vinegar,
two big drops of dishwashing liquid, and some food colouring.
4. Use the funnel to pour the soapy, red
mixture into the bottle.
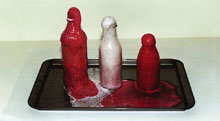
5. Stand back and watch the “volcano”
erupt over the sides of the bottle.
6. Repeat steps 1-5 several more times, varying the amounts of vinegar,
baking soda, and dishwashing liquid,
|
|
 . Print it out and complete the Pre-Lab Questions and Data Table before
doing any of the procedure.
. Print it out and complete the Pre-Lab Questions and Data Table before
doing any of the procedure.